Master
Planner
Time
frames, the person associated with each time frame, and the time frame priority
are show in the Master Planner.
Time frames listed with higher priority (lower number) appear in increasing
order and take precedence over lower priority time frames. Lower priority time frames will not
appear in the generated Google calendar if they are completely masked by higher
priority time frames occurring at the same time. All other CalendarPlant function can be
reached from the Master Planner.
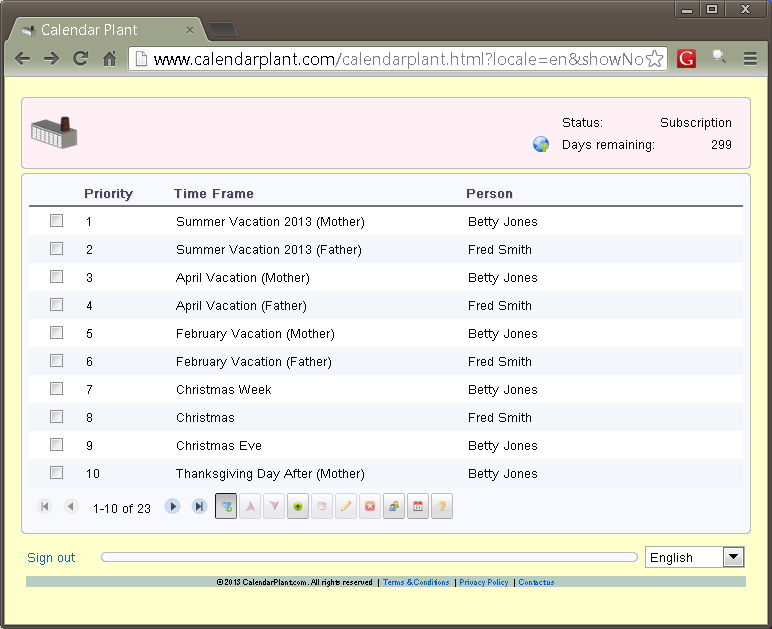
Time Frame Pager
A
maximum of ten time frames are show at one time. If more than ten time frames are
constructed the page navigation buttons
![]()
can be used to view
time frames not currently shown.
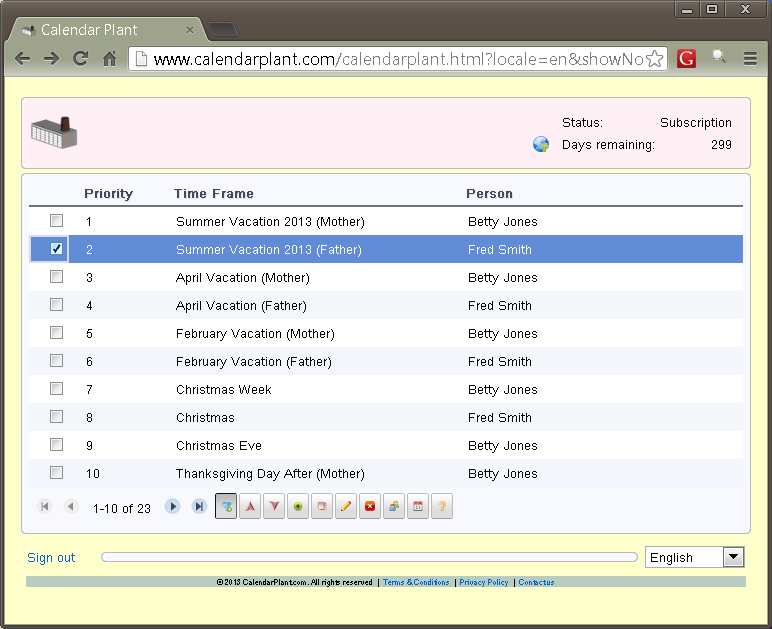
Time Frame Selection
Checkboxes
appear to on the left most column of each time frame. These checkboxes are used
for selection. Certain operations are enabled only if a time frame is
selected. Only one time frame at a
time can be selected.
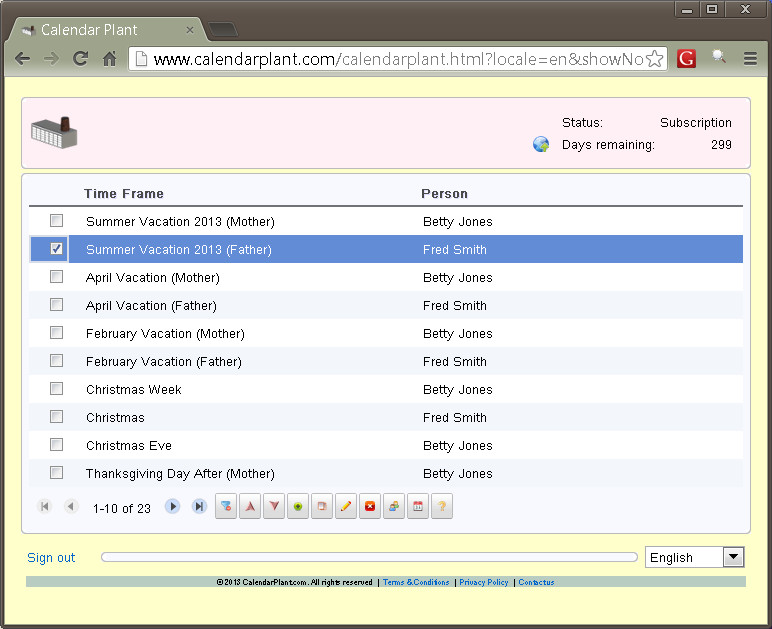
Turning Off Prioritization
Prioritization can be turned off by
pushing the Priority Filter Toggle button.
![]()
When prioritization is turned off, the Priority column in the Master Planner is hidden. If prioritization is turned off, then time frames can appear concurrently with other time frames scheduled at the same time. Prioritization can be turned back on by again pushing the Priority Filter Toggle button. This button is always enabled.
Moving Time Frames
The
Up and Down buttons
![]()
move a time frame up
or down in the list. If
prioritization is enabled this has the effect of increasing or decreasing the
time frames priority. These buttons are only enabled when a time frame is
selected.
Creating a New Time Frame
The
Create Time Frame button
![]()
can be pushed to
launch the Time Frame Editor for the construction of a new time frame. This button is always enabled.
Creating a New Time Frame From an Existing One
The
Copy Time Frame button
![]()
can be pushed to
create a time frame from an existing one.
If this button used, the Time Frame Editor is launched on a copy of the
selected time frame. This button is only enabled if a time frame is selected.
Editing a Time Frame
The
Edit Time Frame button
![]()
can be pushed to
edit an existing time frame. If
this button used, the Time Frame Editor is launched on the selected time frame.
This button is only enabled if a time frame is selected.
Deleting a Time Frame
The
Delete Time Frame button
![]()
can be selected to
delete an existing time frame. This
button is only enabled if a time frame is selected.
Defining a Person
The
People Editor button
![]()
can be pushed to
launch the people editor. The
people editor is used to define people referenced by time frames. This button
is always enabled.
Publishing a Calendar
The
Calendar Publish button
![]()
can
be pushed to launch the calendar editor.
The calendar editor is used to define and publish a Google calendar.
Getting Help
The
Help button
![]()
can
be pushed to launch on-line help.